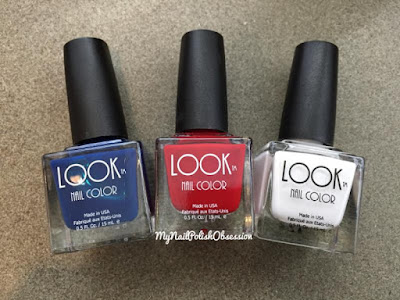
I received Oh Say Can You See, Rocket's Red Glare and Broad Stripes Bright Stars for review. I enjoyed the bottle shape and the shorter brush, which made for easy handing when I did art.
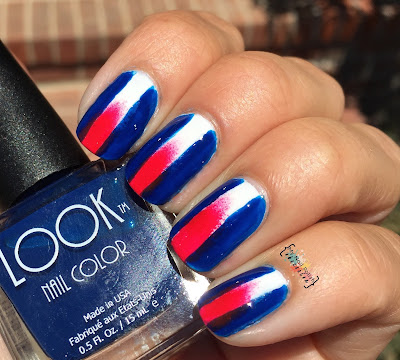
Since LOOK encourages nail art I thought that's what I'd do! I did 2 very simple nail art styles and am sharing them now. For this mani I started with 2 coats of Broad Stripes Bright Stars. It's a nice creamy white that wasn't chalky or patchy. It covered well and made for a great base for my art. I then used Oh Say Can You See, a royal blue jelly. You would need about 3 coats to build up the opacity on this polish, but it had a very glossy finish. I free handed the 2 thick stripes on my nails. I then sponged Rocket's Red Glare, a red jelly, onto the tips of my nails, trying to stay within the white area. This jelly was a bit more full coverage, but it would still probably take 3 coats. I finished with 1 layer of topcoat.
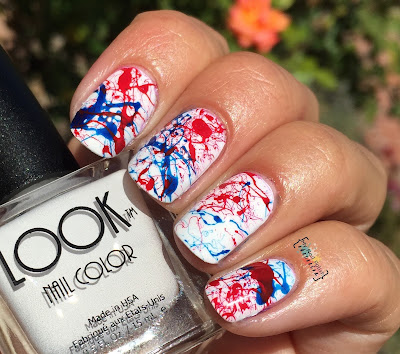
This second look is my favorite of the 2. I decided to do a splatter mani. So messy, but I haven't done one in ages. Once again I started with Broad Stripes Bright Stars because it really makes a prefect base for nail art. I used ellagee Likety Split Latex Mani Mask to cover my fingers and help keep the mess at bay.
The next step for the splatter mani is to get a straw. I cut mine in half to make for easier handling. You'll need 1 straw per color you are using. You will also want a paper plate to "splatter" over.
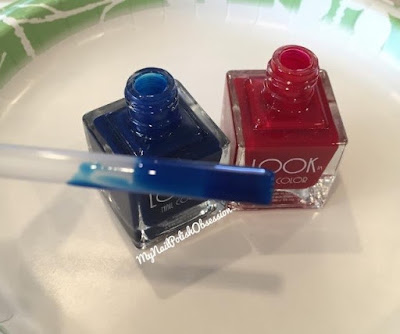
Dip your straw into the polish getting a good amount into the tip.
Hold the straw over 1 nail (over the paper plate of course) and....blow! Blow hard enough to cause the polish to fly out all over your nail in random blobs and drops. Re-dip the straw and do it again for each nail. Below is my picture of each nail after the splatter treatment with Oh Say Can You See.
Here's another picture showing what my nails (and fingers) looked like after being splattered with Rocket's Red Glare.
After removing the latex and a little clean up here's what I created! I did finish it up with a layer of topcoat. You want to make sure everything is nice and dry before using topcoat so you don't smear any of the colors. I think it's a super fun way to show off your patriotic side and celebrate the holiday.









No comments:
Post a Comment